Pages

Yellow and White Bathroom

After I convinced my better half to paint the kitchen green I conceded to painting the bathroom yellow. In the end I think it turned out great. The walls are bright and they really look great with all the sun from the skylight.


In order to finish the room we decided to paint the matching medicine cabinet, sink cabinet and mirror frame white. The end result is bright and inviting two toned yellow and white bathroom. After we finished the painting we purchased a nice yellow and white shower curtain that I think finishes off the bathroom nicely.


Medicine cabinet and mirror frame drying after the second coat of paint.


Here you can see the shower curtain.

Kitchen Still in Progress

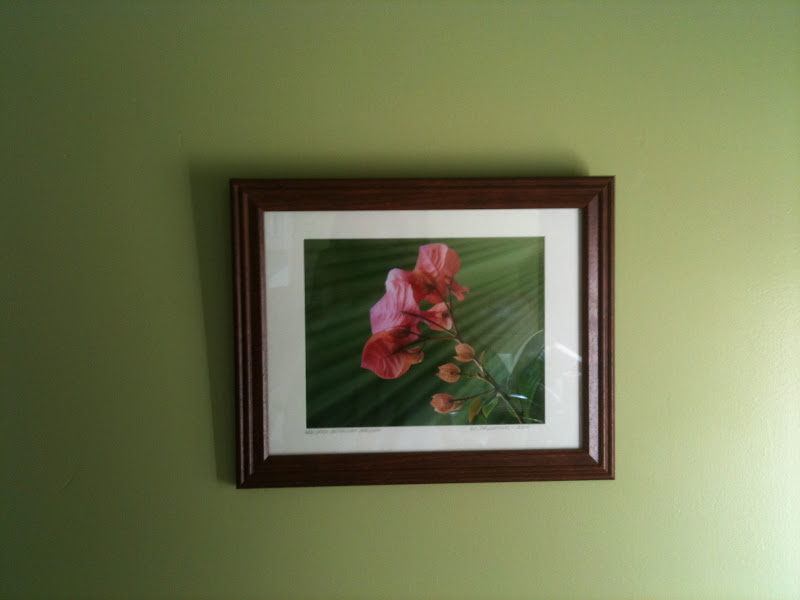
So we haven't made as much progress as we would have liked, but we did finally hang the pot rack and some art. I think the end results are great and it really makes the room look a lot better.


Refinished Gate-leg


We purchased a beautiful Danish Modern gate-leg table and chair set on Craigslist. The table was a bit worn when we purchased it. It was living the last few years of its life in the basement of a house as a kids arts & crafts table. Someone added a thick coat of varnish to the table which may have helped protect it at some point, but now its just a reminder of all the damage thats been done. After a thick coat of Multi-Strip (an odor-free environmentally friendly paint and varnish stripper) the table is back to almost its original glory.

Step 1: Apply thick coat of Multi-Strip.
Step 2: Wait 3 hours.
Step 3: Remove Multi-Strip with a straight edge paint scraper.
Step 4: Wipe down the table with Odorless Mineral Spirits
Step 5: Sit back and admire your hard work.

A little more work tightening some of the screws and some new upholstery for the chairs and this set will be perfect.

Faux Fireplace


We picked up this gorgeous wood mantle on Craigslist the only problem is we don't have a fireplace. So we decide to create a faux fireplace. All we have to do is hang the mantle on the wall and then we can tile the inside. It should look pretty good and will add a great focal point to the room.

Kitchen in Progress


Before we can afford to renovate the kitchen we decided to do our best to make it more livable. We started by painting the walls green and the cabinets and table white. New hardware has been picked out we just need to place the order. Next up we will be painting the laminate floors charcoal grey and either replace or paint the tile back splash.

We also still need to hang our paintings, we've been reluctant to hanging anything on our plaster on lathe on brick walls.


I really love the green in this room, but that floor ruins everything and must be removed immediately.

Electrolytic Rust Removal

So I decided to try an experiment last weekend. I obtained some old rusted outdoor metal chairs that needed to be stripped of rust, primed and painted. After looking online for various methods of rust removal I found something called Electrolytic Rust Removal. It sounds a bit crazy electricity and water are always said to be major no no’s. This is a relatively simple solution compared to hours of grinding and sanding.

The setup is fairly simple: prepare a conductive solution bath for your object (I used washing soda [1 teaspoon per pint of H2O]) in an inert (plastic) bucket/tub, submerge object and clamp it in place, clamp steel rebar in the solution (make sure it doesn’t touch your object), connect the positive end of you battery charger to the rebar and the negative end to your object and watch as the electrolytic process removes the rust with no effort. Once you are satisfied with the results clean off the object and you will be amazed how the rust just flakes off.

http://www.instructables.com/id/Electrolytic-Rust-Removal-aka-Magic/

http://www.videojug.com/film/how-to-remove-rust

Bookshelf and Book Organization


After purchasing a giant eight foot by eight foot handmade bookshelf when we were moving I finally got around to securing it to the wall. Now you would think this would be an easy enough task, but this wall is plaster on brick with no gap. I discovered this after drilling a hole for an anchor screw. So I went back to the orange depot and picked up some masonry screws so I could attach my bracket directly to the brick. The process went fairly smoothly after that and the support seems to be working, but I’m not sure it can hold too much more weight. Now all I have to do is patch two small holes and this project is done (or so I thought).

As soon as the bookcase was secured it was time put our books on it. I immediately began organizing by subject matter novels on one shelf, philosophy books on another, etc... My better half had a different idea, thus the beautifully organized by color bookcase. It really looks great and once we fill the rest of the spots with art and what not I think it will look even better. Now all I need to do is remember what the color of the spine of Bloodsucking Fiends is.