
Showing posts with label rowhouse. Show all posts
Showing posts with label rowhouse. Show all posts
The Framing Begins
The day after the floor was poured the framing began and in a little over three hours George and his guys has nearly finished off the framing. All the have left is the front wall with the windows and the staircase.


We Have a New Floor and it's Level
First thing Thursday morning George arrived with his crew and a concrete truck ready to pour the new floor. After the plumbing ground work passed inspection George leveled the dirt floor (filling in around the new pipes and sump pump.


Revised Plumbing and a Sump Pump
The plumbing ground work inspection was on Monday (and we passed), but the weekend before George made a few updates to the plumbing. The setup looks a lot better now and more straightforward. Here is the new layout before George added the back water valve. The shower is the closest followed by the toilet and sink.


Digging Done, Drainage Done, Inspection Waiting
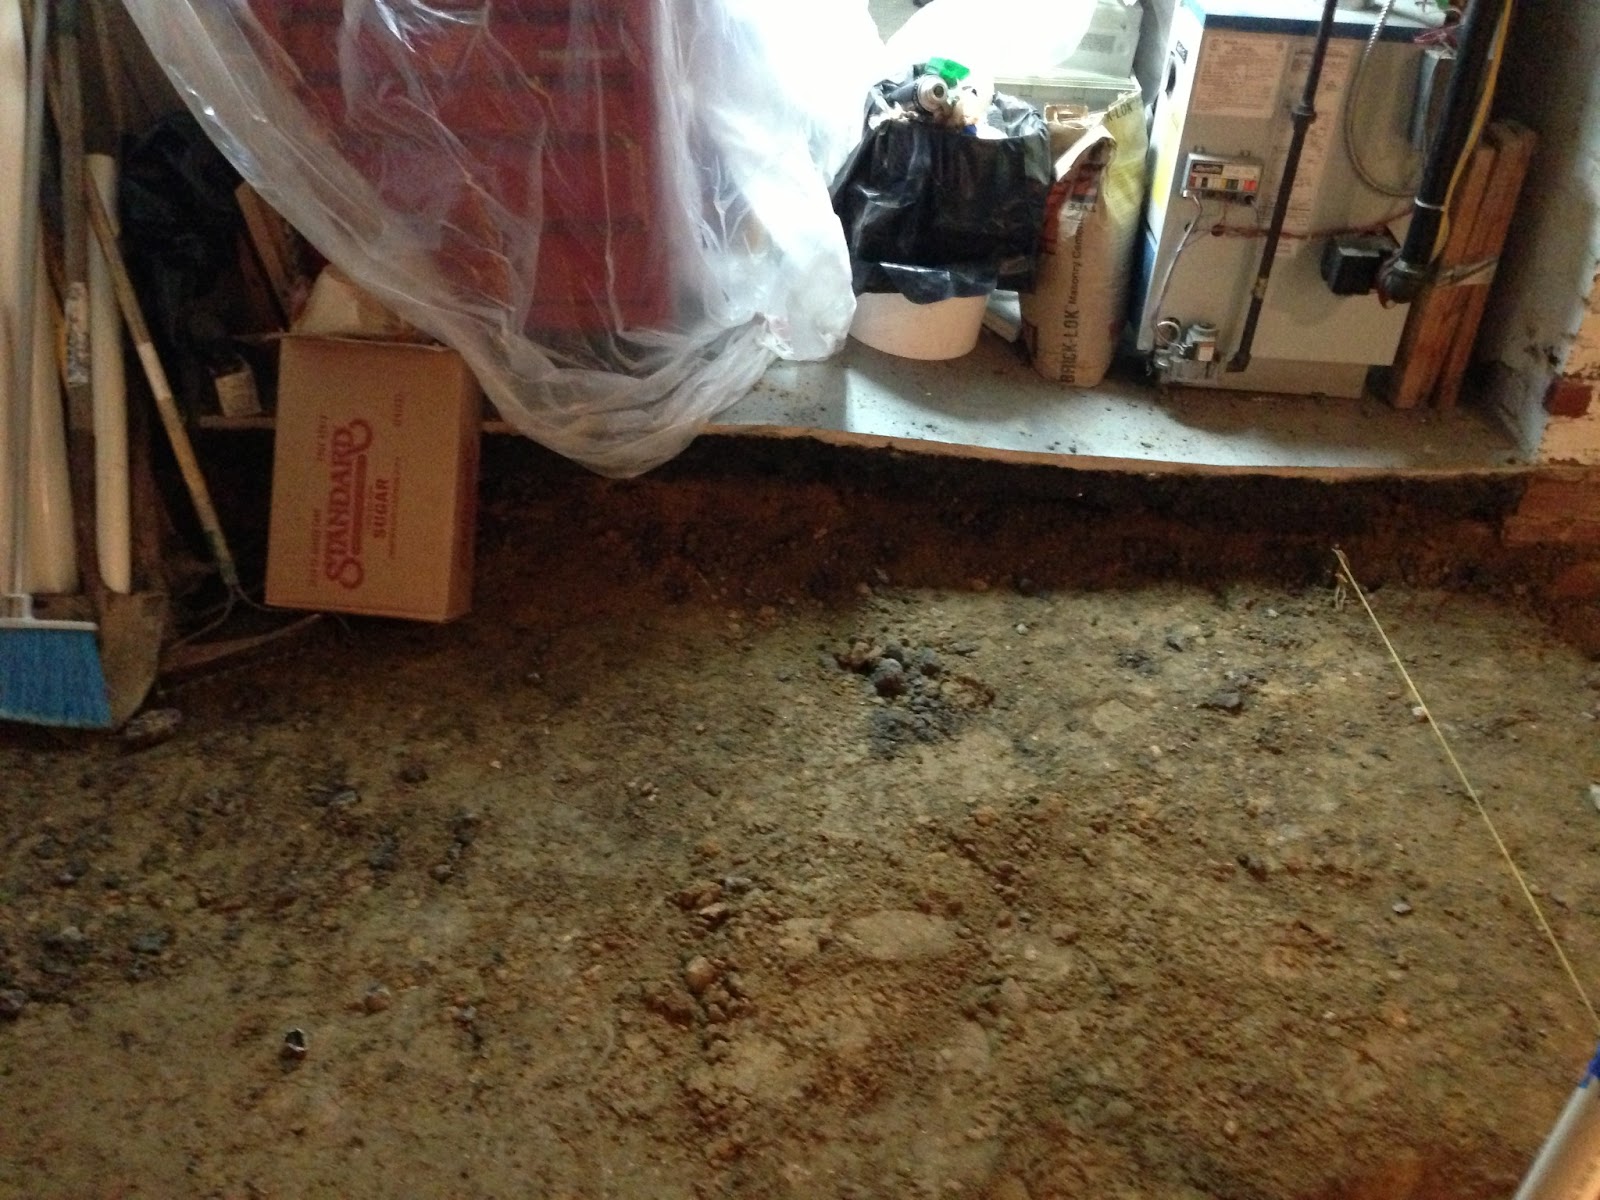
The dig out was completed yesterday. They cut a line in the floor parallel to the back door and remove the remaining concrete and dirt.. There will be a small step up to the utility room.

We Gained a Foot
To our surprise when we came home last night, George had nearly finished the dig out and instead of removing six inches of concrete and dirt he took out a foot. That's right, we went from having a finished 6'10" clearance to 7'4". The guys did an amazing job.

Evolution of the Yard
When we bought the house four years ago the backyard wasn't ideal for our needs. A big concrete slab without a fence. So we've slowly made improvements to make it a more livable space. Here's the back yard right after the purchase.


What Do You Mean We Need a New Floor?
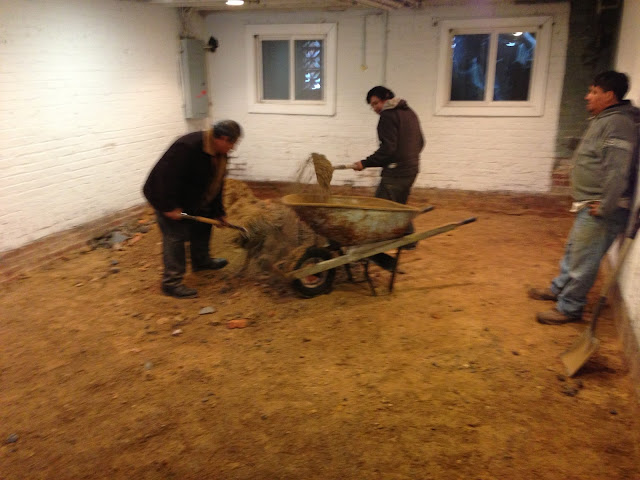
Day two began with George and his concrete guy looking more carefully at our slab. There was a fairly lively discussion in Spanish that didn't make George seem too happy. The original plan was to use a liquid leveler and to leave the existing slab as is, but that wasn't going to work here. The existing slab was too weak to support the tile for the bathroom, it was barely two inches thick. They need to remove the entire floor and pour a new one.
Now we immediately assume there is going to be a huge cost to this just considering the amount of additional labor. They need to break up the entire floor and dig down about 6 inches (or more) so they can pour a new four inch thick floor. In the end the additional cost was reasonable and included new stairs. We had been planning on just putting on new treads and risers. The best part though is the digging down a half foot. My clearance was always a bit tight at 6'8" (actually its the minimum for code) and getting two more inches will feel like a lot.
As you can see the floor was very thin and there were already a few patched cracks that showed a little movement. The floor came up pretty easily. They got most of it done with the small jack hammer before the full size one arrived.

Now we immediately assume there is going to be a huge cost to this just considering the amount of additional labor. They need to break up the entire floor and dig down about 6 inches (or more) so they can pour a new four inch thick floor. In the end the additional cost was reasonable and included new stairs. We had been planning on just putting on new treads and risers. The best part though is the digging down a half foot. My clearance was always a bit tight at 6'8" (actually its the minimum for code) and getting two more inches will feel like a lot.
As you can see the floor was very thin and there were already a few patched cracks that showed a little movement. The floor came up pretty easily. They got most of it done with the small jack hammer before the full size one arrived.

The Real Demo Begins
My contractor, George Soto (Soto Construction), came over by himself early Friday morning to knock out the remaining demo. He just needed to remove the wall and some framing under the stairs. Day one went well and was for the most part uneventful. I wish I could say the same for day two.
Before:

Before:

Organization, Light Demo and the Find
Now that the renovation is days away we needed to get organized. We started by moving everything we could into the utility/boiler room. As you can see, we crammed in quite a bit of stuff into the small 13' by 10' room.

Then we started on the light demo. Removing as much as I could without moving the existing electrical. This wall is coming down to make room for the future shower and the closet will be transformed into a proper closet re-framed out and adding a light and a door.

Then we started on the light demo. Removing as much as I could without moving the existing electrical. This wall is coming down to make room for the future shower and the closet will be transformed into a proper closet re-framed out and adding a light and a door.
Drawings Approved, Permit in Hand
Well I went into the permit office this week and walked out with
a permit. I showed up super early and was the first inline. You would think
that would mean that I would be the first to meet with someone. It’s just like
the DMV, I received my ticket and waited for my number to be called, but
everyone else seemed to be getting called ahead of me. After a few questions
back at the reception desk I was given a new number. This time I’m waiting in front
of the DDOE station window and I see the guy moving papers around, sharpening
his pencils, tapping away at his computer, but not calling my number. After staring
at him for almost 15 minutes (keep in mind I’ve already been waiting for 40
minutes with a number and another 30 minutes before the place opened). Finally,
I hear my number and I sit down with the guy and explain what I’m trying to do
and show him my drawings. He starts asking me questions about the forms I was
given as if he’s never seen them before. For example he says to me “what do you
think an ‘existing dwell units’ means?” I say it’s a single family home, so it’s
1 unit. He says “you don’t think it means the number of bedrooms?” I mean isn’t this your job? So then he starts
drawing all over my drawing (thankfully I brought a bunch of extras in addition
to the 4 sets I need to get stamped and signed). After 15 minutes of this he
finally realizes that I’m the homeowner and not a contractor and suggests that
I talk to someone in the Homeowner’s Center where they are more helpful. At
this point I’m a bit frustrated that I wasn’t directed here in the first place
since that’s exactly who I asked to speak with, but I’m just glad I’m headed in
the right
The Homeowner’s Center is a breath of fresh air. The guy here is straight forward and just asks me to show him my materials and what I’m trying to do. He tells me to go wait in the lobby and he’ll have everything in order in a few minutes. 5 minutes later he hands me a receipt and say go pay this and when you come back ill have your permit ready. Sure enough, 10 minutes later I have my permit in my hand and jumping for joy.
The next thing I do is call my contractor and send him the approved drawings and our detailed work items. We're ready to move forward. Next up, we need to get a revised quote and sign on the dotted line. Then the contractor needs to get the plumbing and electrical permits (they don't give those the regular folks like me).
Detailed Work Items
The Homeowner’s Center is a breath of fresh air. The guy here is straight forward and just asks me to show him my materials and what I’m trying to do. He tells me to go wait in the lobby and he’ll have everything in order in a few minutes. 5 minutes later he hands me a receipt and say go pay this and when you come back ill have your permit ready. Sure enough, 10 minutes later I have my permit in my hand and jumping for joy.
The next thing I do is call my contractor and send him the approved drawings and our detailed work items. We're ready to move forward. Next up, we need to get a revised quote and sign on the dotted line. Then the contractor needs to get the plumbing and electrical permits (they don't give those the regular folks like me).
Detailed Work Items
The Plan: Basement Renovation
We are endeavoring on a major renovation project that is beyond our capabilities, so we have found a contractor to help us renovate our unfinished basement. The plan is to clean out the basement (currently our catch all storage area) so we can add a full bathroom, a few closets, and a new living room. In an attempt to save money on this project we are planning on acting as the project manager and have decided to handle the designs and permit process ourselves. Wish us luck.
We haven’t signed a contract yet with the contractor, we’re waiting for the permits to be finalized so we can them included in the SOW. The hope is next week I can go back into the permit office and pay some exorbitant fees and walk away with a beautiful permit, but I’m getting a bit ahead of myself.

We haven’t signed a contract yet with the contractor, we’re waiting for the permits to be finalized so we can them included in the SOW. The hope is next week I can go back into the permit office and pay some exorbitant fees and walk away with a beautiful permit, but I’m getting a bit ahead of myself.
Solar is Improving the Value of My Home
According to a new study of home sales in California by the Lawrence Berkeley National Laboratory, not only can homeowners with solar PV recoup the cost of their solar investment though energy cost savings and sale of the home, solar PV actually increase the resale value of existing homes. SunRun created the infographic (below) based on this research study.
I know I live in DC and not California, but I have to assume there are some comparable lessons to be learned from this study. I wonder if my 4kw system would really return 16-20K?

I know I live in DC and not California, but I have to assume there are some comparable lessons to be learned from this study. I wonder if my 4kw system would really return 16-20K?
Solar Production To-Date
 I thought I should revisit my solar project now that it’s been up and running now for 4 months. According to Enphase Energy, the company that digitally tracks my house’s energy production, I’ve produced 1.72 MWh which is enough energy to power 57 houses for 1 day. Additionally, they say my carbon offset to-date is 1 ton or the equivalent of 30 trees. The Enphase meter reading system is pretty cool they gave me a little device that plugs into my router that displays my current energy production and relays that information to their website. I can view the energy production of each of my solar panels in real time and if one of the panels isn’t working correctly I’m notified immediately.
 180.8 kWh February
436.9 kWh March
468.5 kWh April
580.3 kWh May
As you can see my production has only gone up since its dismal performance in February. Hopefully my system will continue to improve and at the end of the year truly produce 80%-90% of my energy usage.
Let There Be Lights
Another thing I've been meaning to post is that we finally replaced a number of chandeliers on the first floor of the house.
First up we replaced the terrible florescent light in the kitchen with this beautiful school house light with a green stripe that matches the wall color.

Next we found this wonderful Danish Modern chandelier with five glass globes. It looks really cool and matches our bedside lights exactly.
First up we replaced the terrible florescent light in the kitchen with this beautiful school house light with a green stripe that matches the wall color.
Next we found this wonderful Danish Modern chandelier with five glass globes. It looks really cool and matches our bedside lights exactly.
Magnetic Spice Rack

As an avid house blog reader and cook I've seen a number of posts out there on spice organization. For along time now I've wanted to move all of my little bottles of spices out of the pantry and closer to my stove. The only problem is I don't have a ton of room for all the spices I use.
The best solution I could come up with was a take on post I saw over at Apartment Therapy (How To Make a Wall-Mounted Magnetic Spice Rack). First we went to Uline and purchased a few cases of glass jars with white plastic lids. Then we found some cheap, but strong Neodymium Magnets and glued them to the top of the lids. In my first attempt we used a hot glue gun to attach the magnets, but as we've used the spices we've decided that hot glue is not the best choice. The strength of the magnets and lack of strength of the hot glue has left me with several lids without magnets. So as the magnets separate from the lids we've been re-gluing them with crazy glue.
The end result is beautiful. It adds some great color to the dominate white side of the kitchen and also puts all of my spices within reach.
New Privacy Fence
First $0 Bill from PEPCO
I received my first $0 bill from PEPCO last month and let me say it was one of the best things to see on a bill. As promised here are few photos of the installation.


Solar Update: Approval!

We've been approved by DC for electrical and construction and are one step closer to generating power.
I had the guys at Clean Currents take a bunch of photos before, during and after installation which I will have up online as soon as I can.
Faux Fireplace Update

We mounted the mantle last week and I think it looks pretty great.
First we tiled a piece of 3/4" plywood with black subway tile and attached the board to the inside of the mantle. Then we attached a ledge anchor with some masonry screws and glue to the brick wall. A few screws to attach the mantle to the anchor board and we are all set.
Only a few things left to do to complete this project. Add molding across the top to cover the small gap between the wall and the mantle. We didn't want to damage the original baseboard so we had to mount the mantle in front of the board creating the small gap. Next we want to get a nice piece of slate for the hearth and think we will be done.
oh, well we want to mount a mirror over the mantle and then we will be done.
Clean Currents Solar

Back in August I applied for the DC Renewable Energy Incentive Program and was approved. I chose Clean Currents as my installation partner and they helped me apply for the program as well as design my entire system. The DC incentive program offered me $11,064 for a 4 KW photovoltaic solar system which covered nearly half of the cost. The federal tax credit will provide me with $7,838 or 30% of the total cost of the system. Another benefit of investing in a solar electric system is the right to sell my 4 Solar Renewable Energy Credits. You can choose the to sell your credits over time and in the end get more money back on your investment, but I decided to sell my credits upfront and lower my intial investment to $1,500. That’s right with the DC and Federal funds plus the approximate $6,800 from PEPCO for my credits I only had to spend $1,500 of my own money.
Now let’s take a quick look at how much energy I will be producing annually versus how much I use and see how long it will take me to pay off the $1,500 investment. My 4KW system should produce approximately 4,888Kwh/yr while my usage is on average 5,400Kwh/yr. That means that nearly 90% of my energy consumption annual will be covered by my solar system. After looking at my PEPCO bills over the past two years I annually spend between $900-$1,000 which means I should be spending $90-$100 per year going forward. So in 2 years I will have saved more than my initial investment. Why doesn’t everyone do this? Well I will say I was lucky. DC offeres a unique program and I was the last approved candidate for 2010 (literally got my application in on the last day) and it’s unclear if the program would continue or at leats continue with so much funding.
Subscribe to:
Posts (Atom)